

- Vega Virtual Device
- Fire TV Device
Run your app on Vega Virtual Device
The Vega Developer Tools (VDT) features a Vega Virtual Device that lets you test and run Vega apps without a physical device, giving you the following control options:- Mouse interaction directly on the virtual device
- Virtual remote control interface
- Keyboard shortcuts and commands
Prerequisites
- Install the Vega SDK.
- A Vega app ready to test. You can use an app you created from Vega SDK project templates, downloaded from a sample app, or built yourself.
- (Optional) Register your Vega Virtual Device to use Amazon Services for testing.
Step 1: start the Vega Virtual Device
At the command prompt, run:- Request microphone access on first launch.
- Timeout on boot, but the optional
--timeoutargument allows you to wait longer.
Step 2: load and run your app
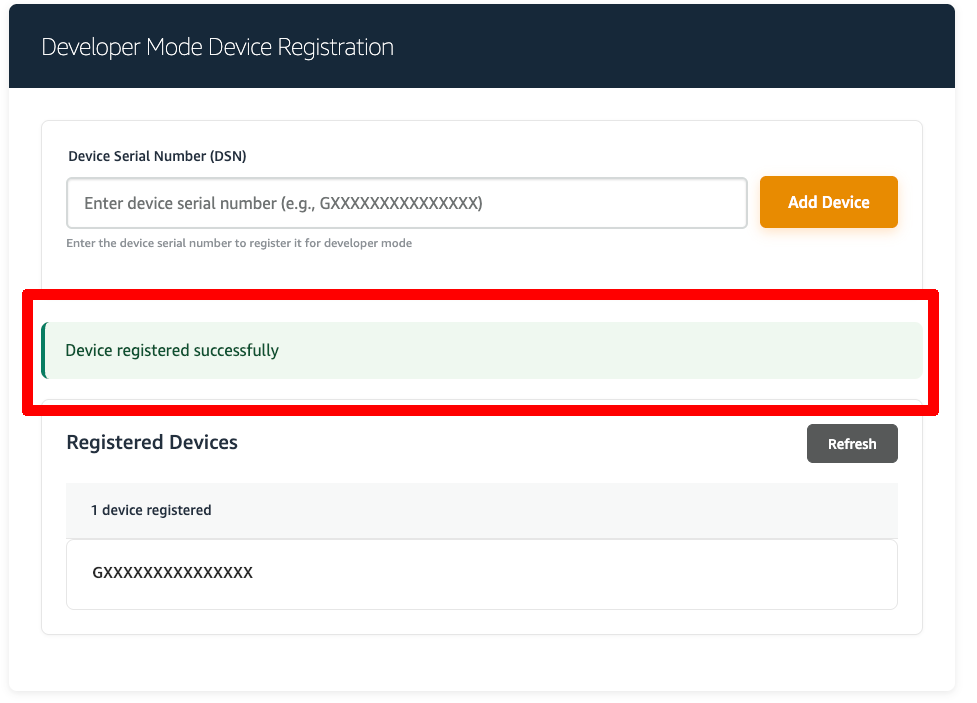
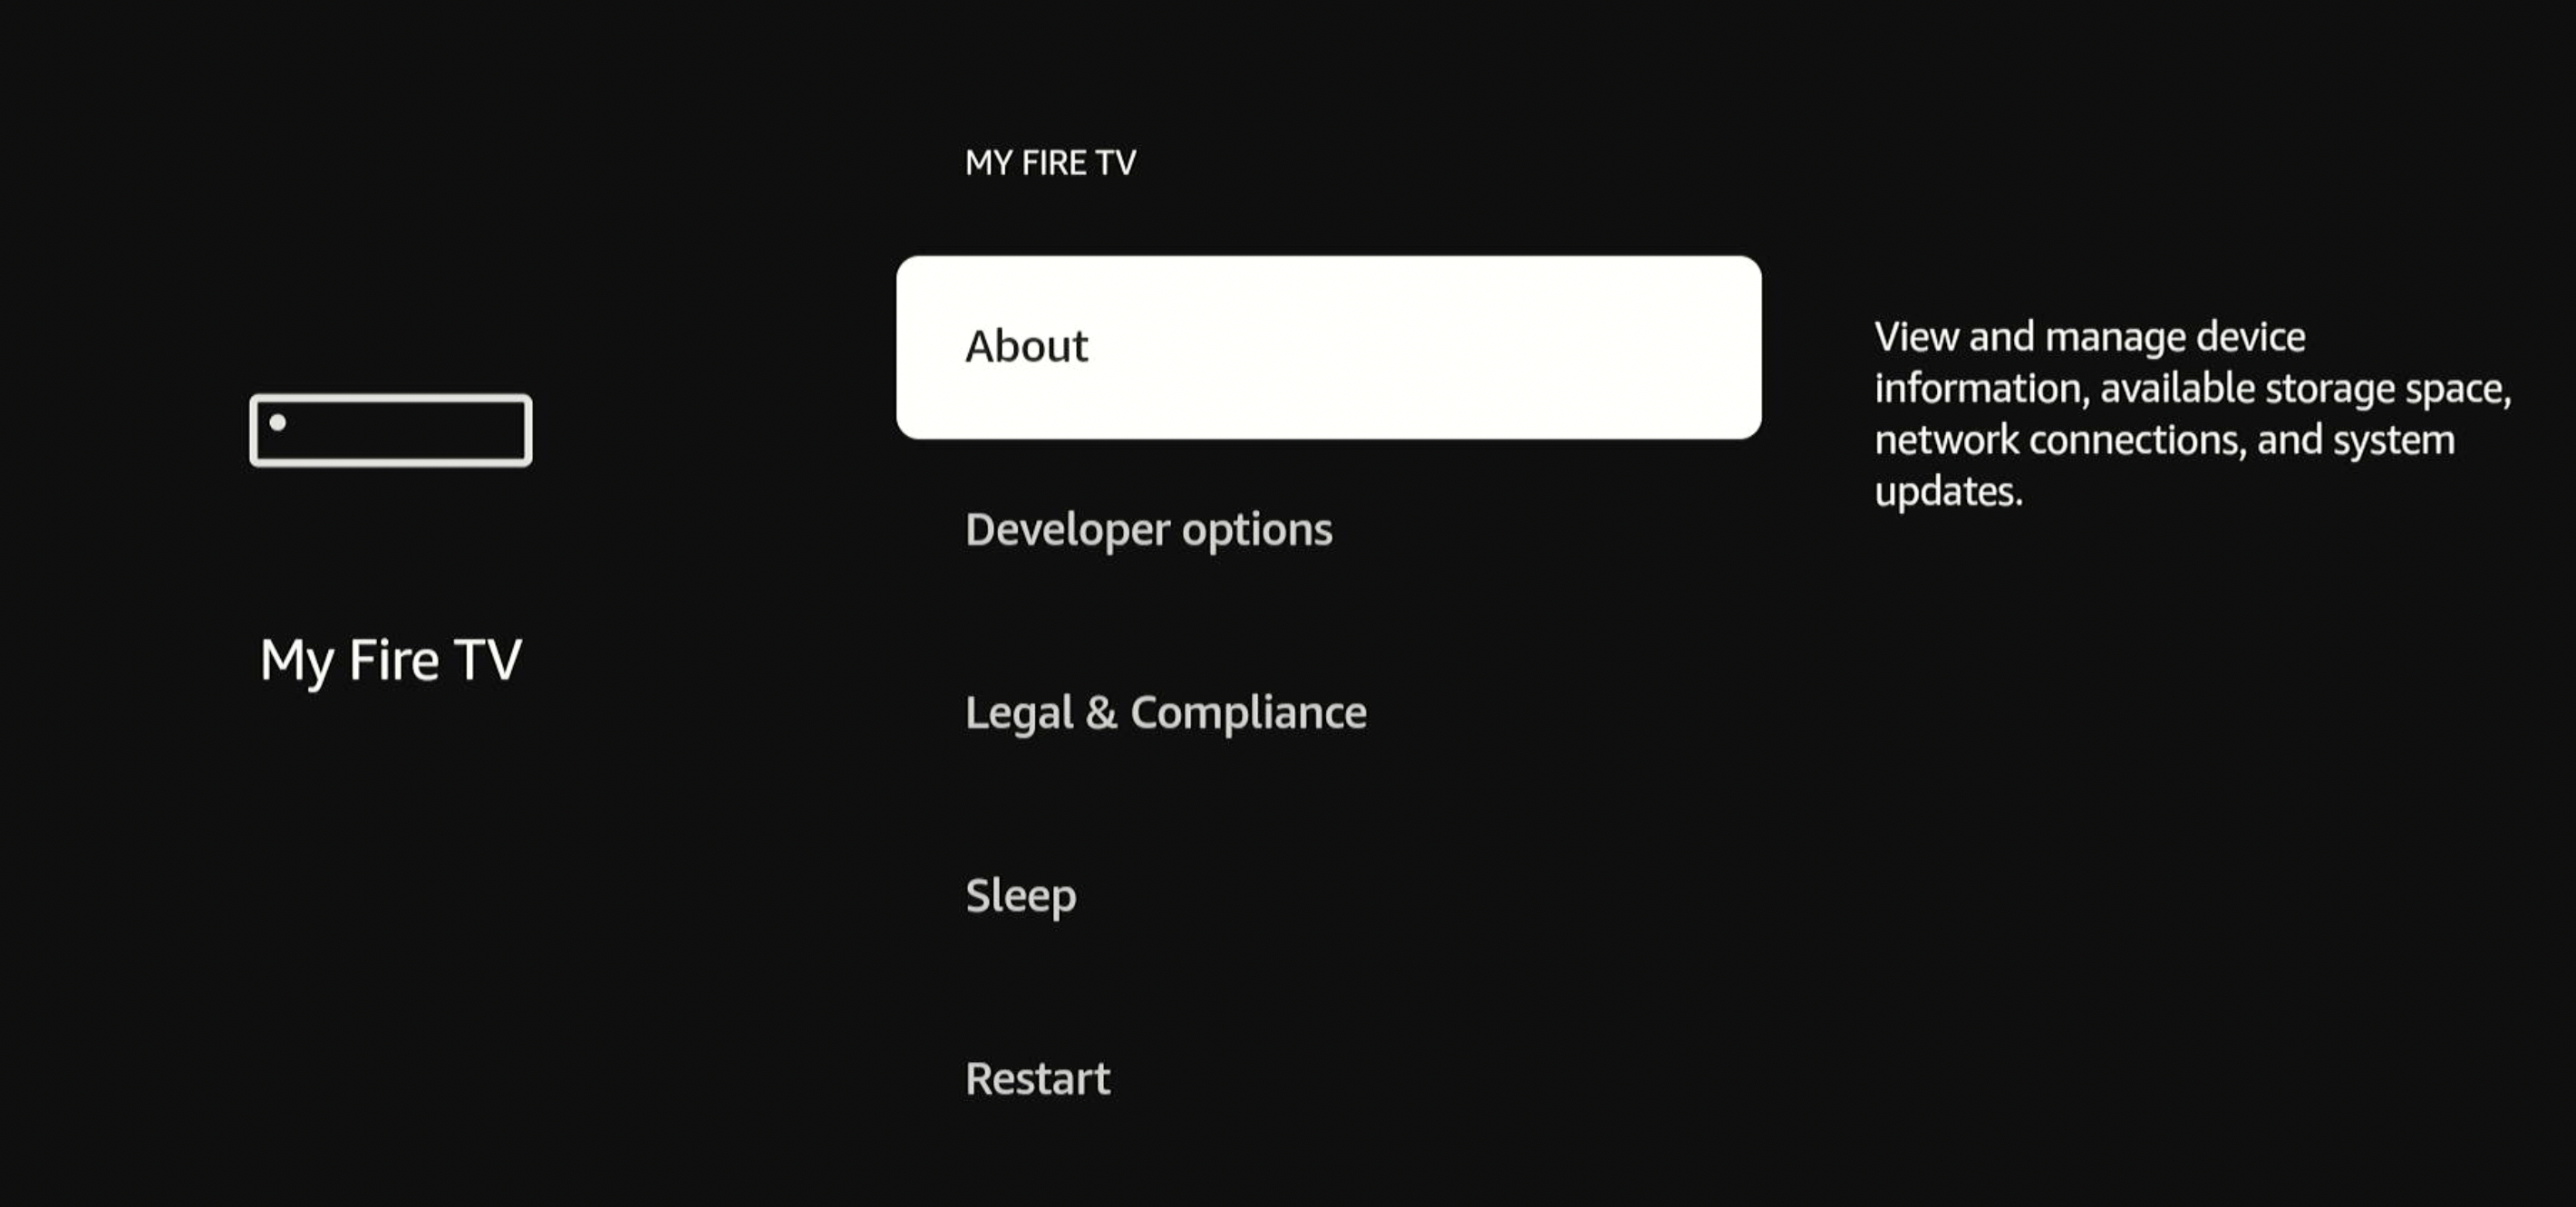
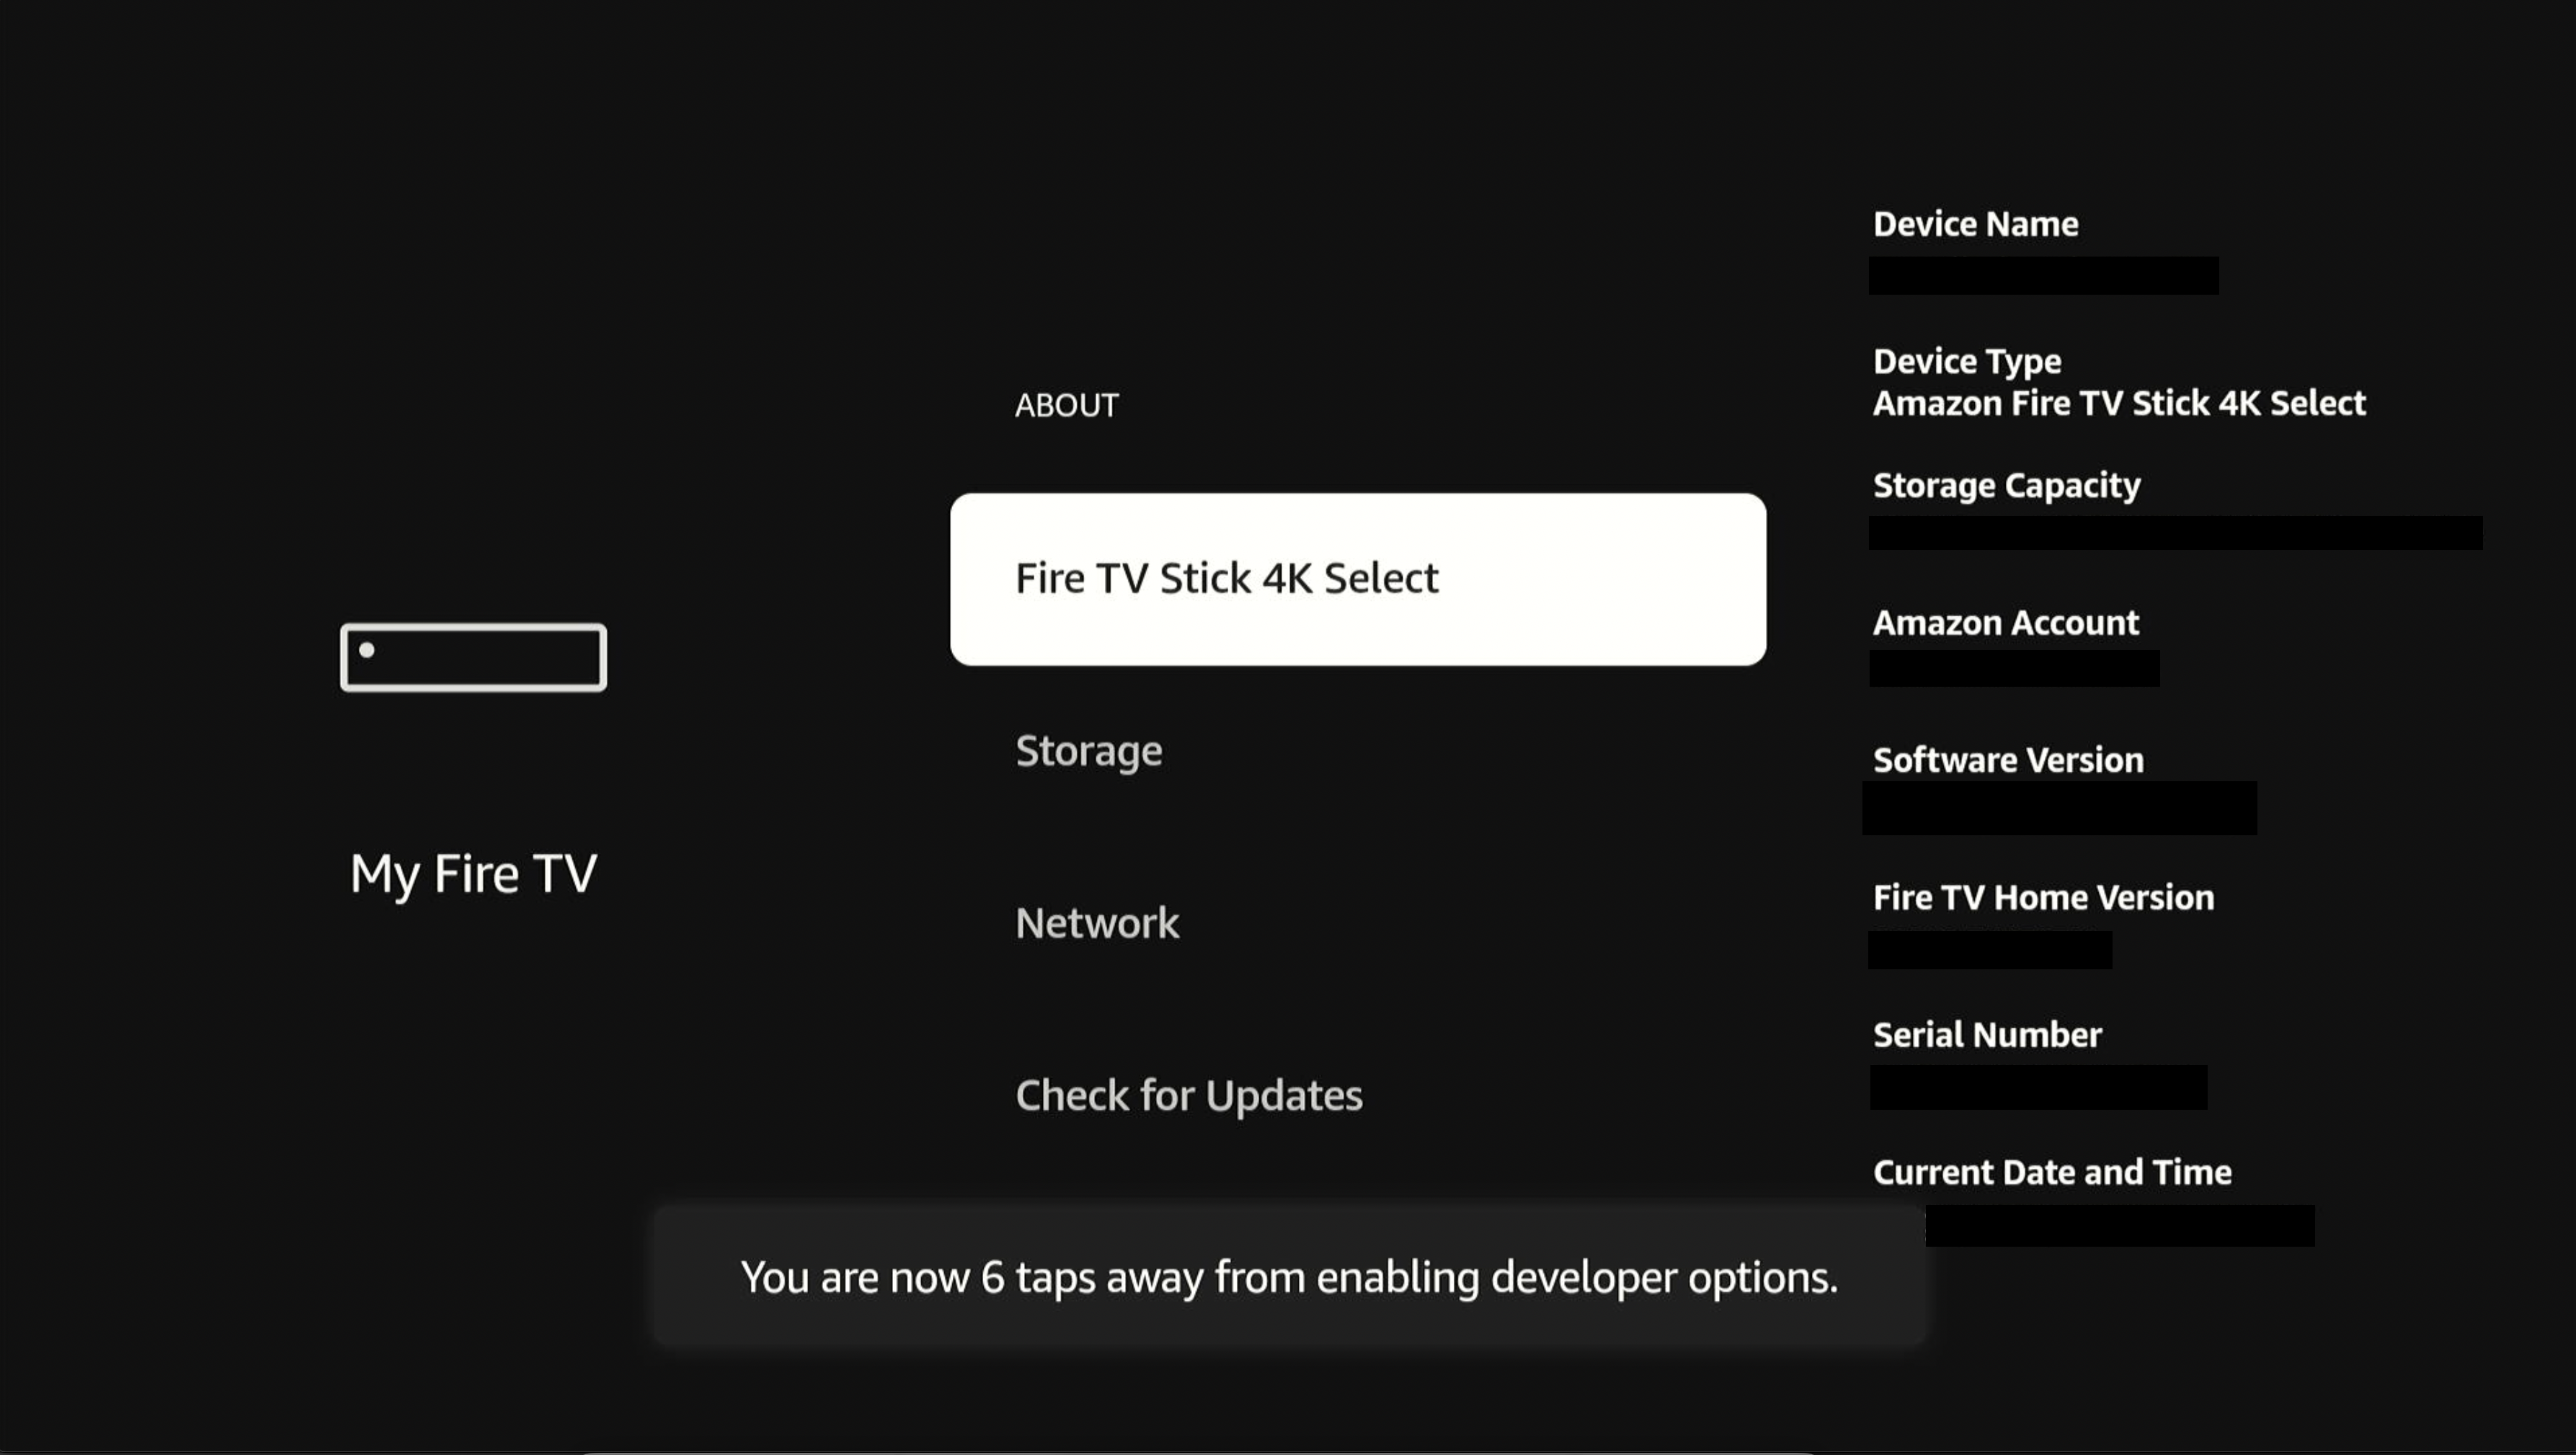
To load and run your app on Vega Virtual Device:-d flag specifies that you’re running the app on the Vega Virtual Device.To load and run your app on Fire TV device:- with your app’s
vpkgfile path - with your app’s component ID
- with the serial number of your Fire TV device
Architecture-specific commands
The architecture of the virtual package (vpkg) must match the architecture of your development machine for proper execution. For example:Mac M-series devices:Step 3: stop the virtual device
To stop the Vega Virtual Device, close your virtual device window, or run:Optional configurations
You don’t need any of these configurations to run an app on Vega Virtual Device. Apply the ones your testing requires.Register the Vega Virtual Device (only if you’re using Amazon services for testing)
To use Amazon Services for testing, register your Vega Virtual Device. When you see the Kepler Virtual Device has launched, follow these steps:- Click “Register this device” on the top right.
- Record the registration code shown on screen.
- Go to www.amazon.com/code and enter the code. Look for this message to confirm registration:
Customize the Vega Virtual Device on launch
The Vega Virtual Device provides customization options on launch. When running the start command:-
Suppress the graphical user interface (GUI):
-
Turn off OpenGL acceleration (Ubuntu x86 only):
-
Modify the default display resolution:
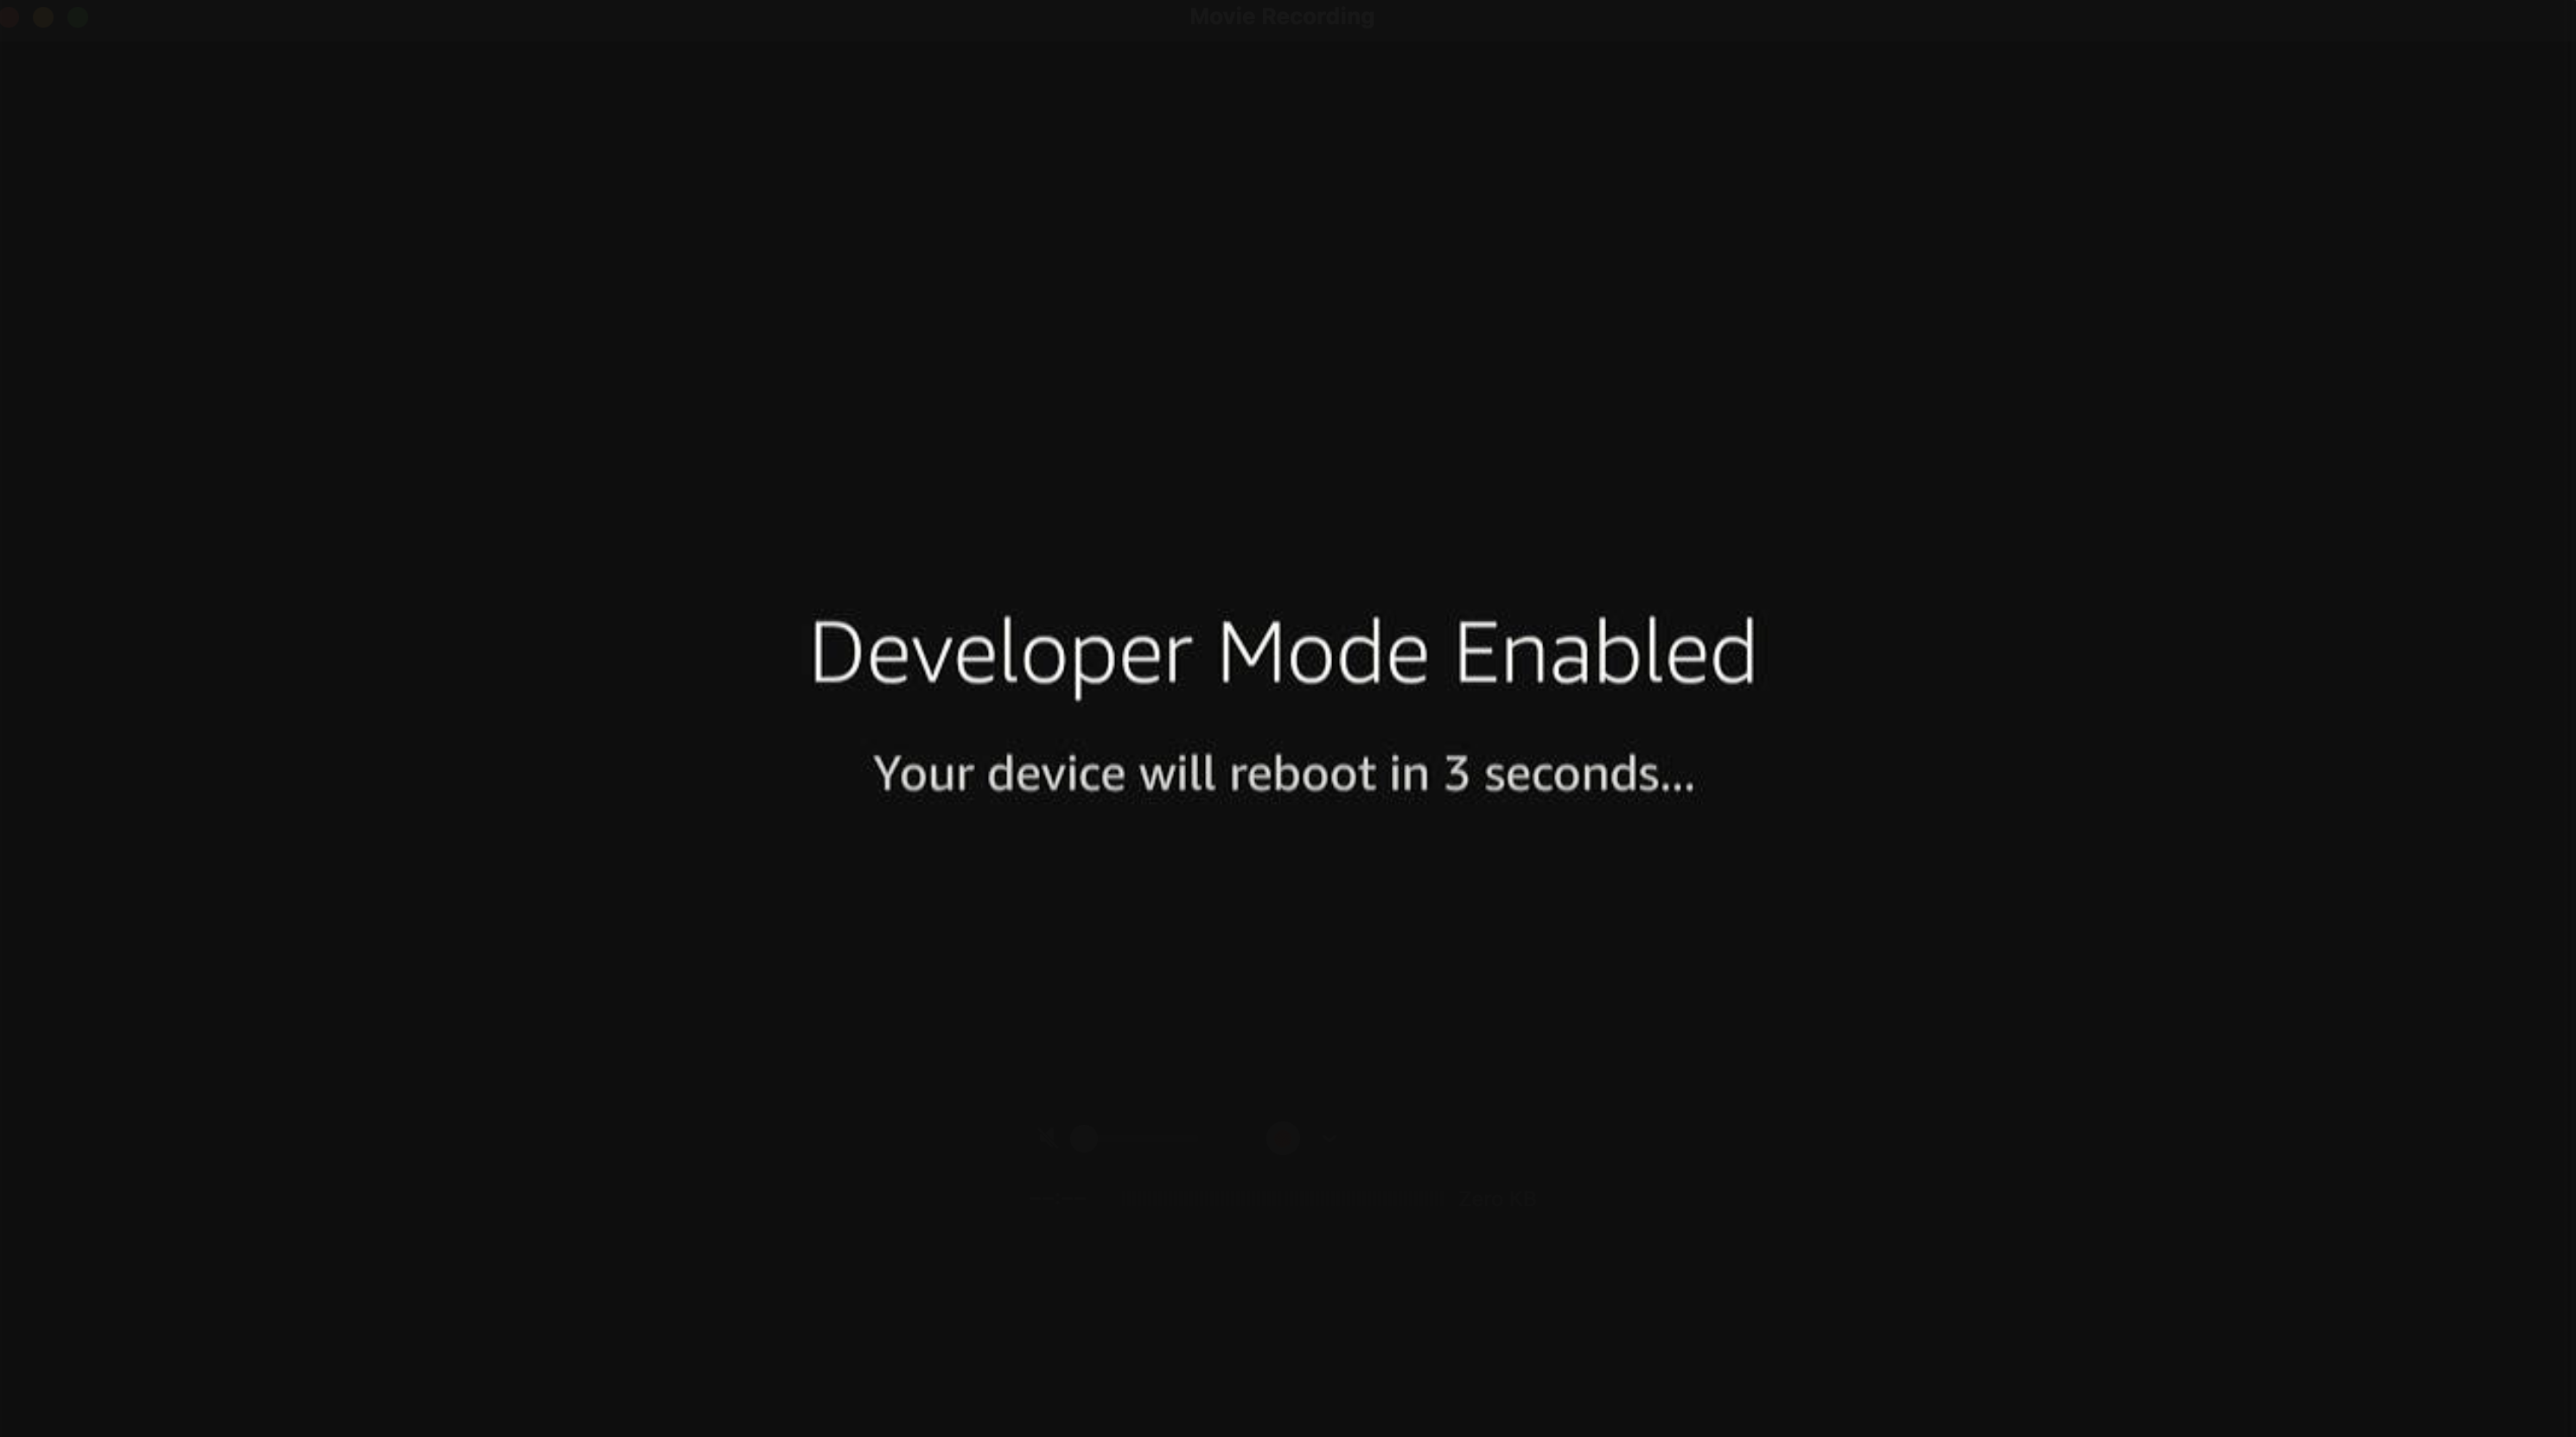
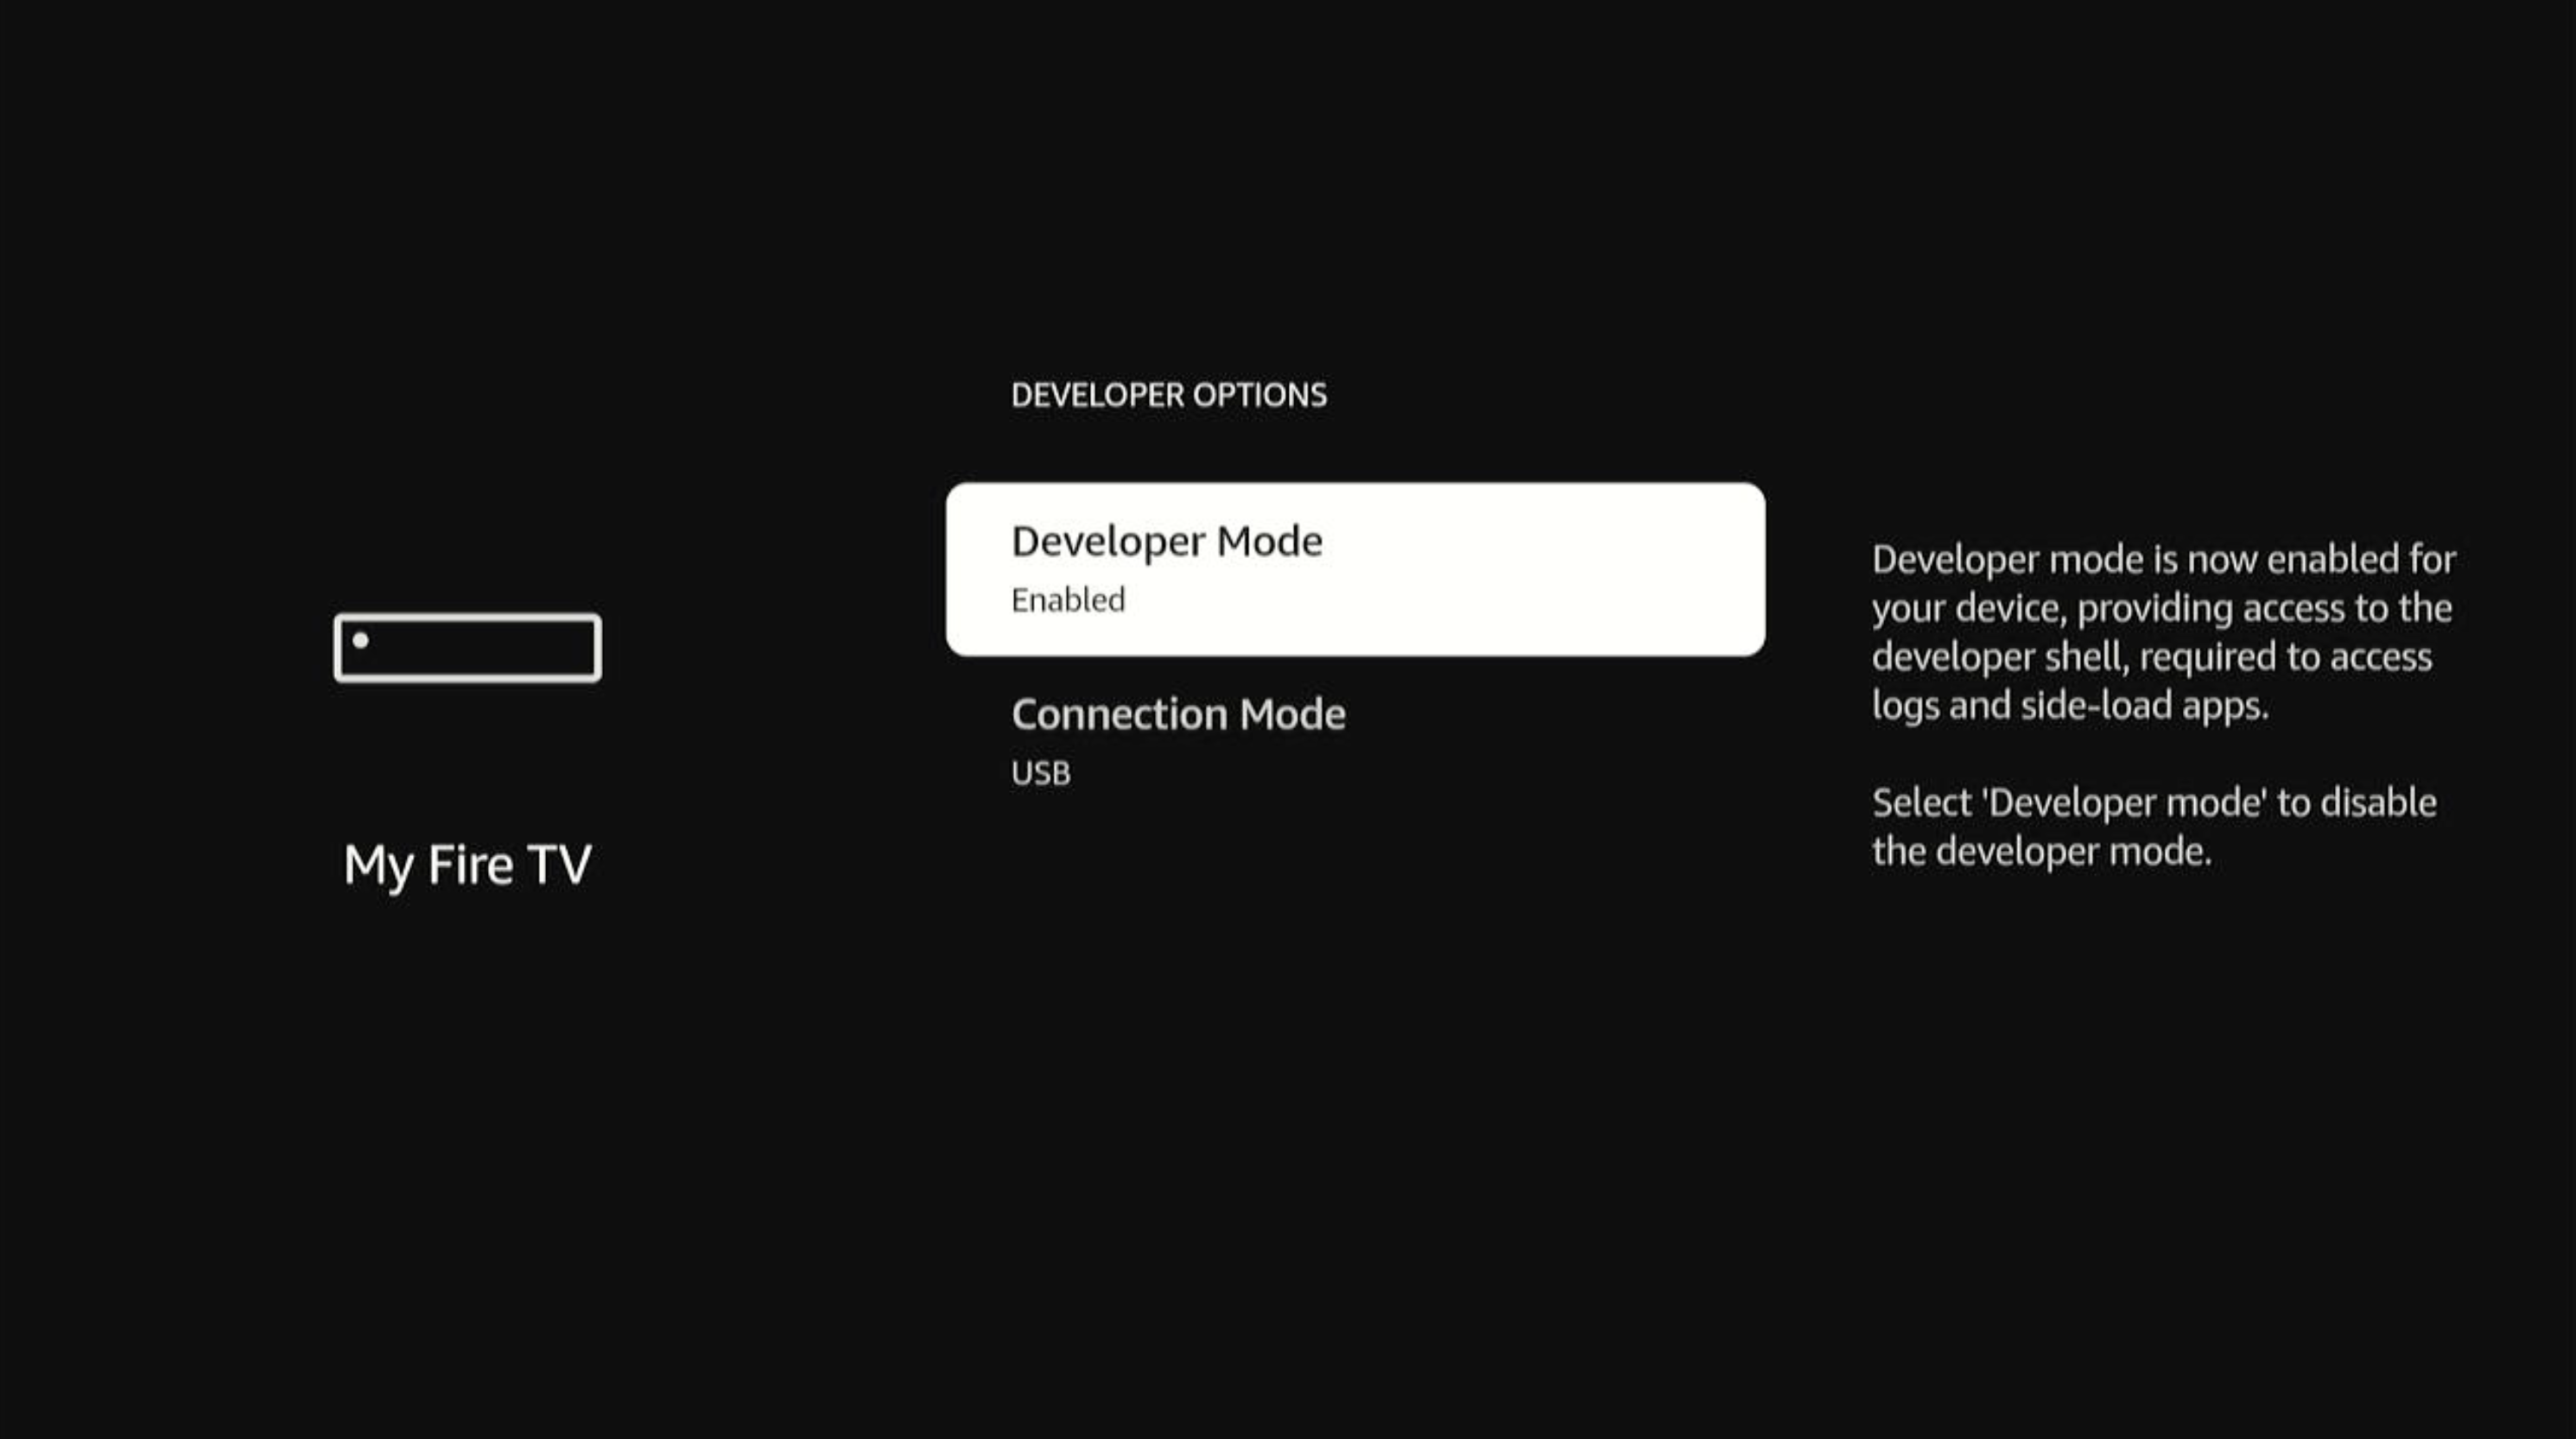
Enable Developer Mode for full inputd-cli functionality
The Vega Virtual Device provides limitedinputd-cli commands by default. Enable Developer Mode to access the full command set for automation and testing:-
Open the virtual device’s shell:
-
Enable Developer Mode:
The VVD reboots after this command. Repeat step 1 to reconnect to the virtual device’s shell.
-
Verify full functionality:
Keyboard shortcuts
Use these keyboard shortcuts to control the Vega Virtual Device instead of clicking with your mouse:Set up Fast Refresh
To automatically detect code changes and display updates in real-time on your Vega Virtual Device, you can set up Fast Refresh.Troubleshoot
If you encounter issues with the Vega Virtual Device, see Troubleshoot Vega Virtual Device Issues.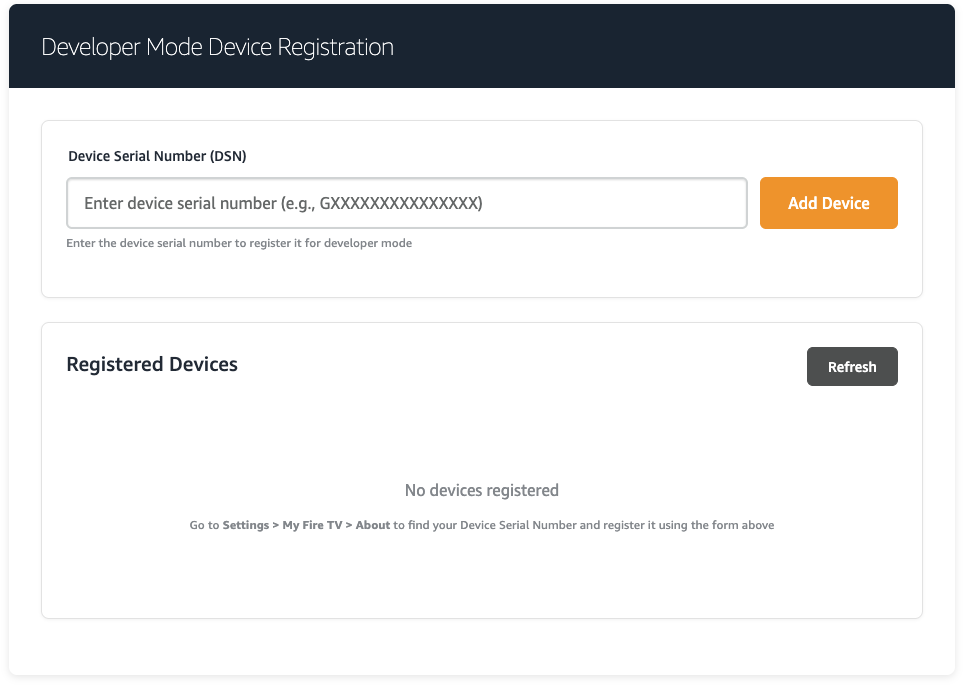
Related topics
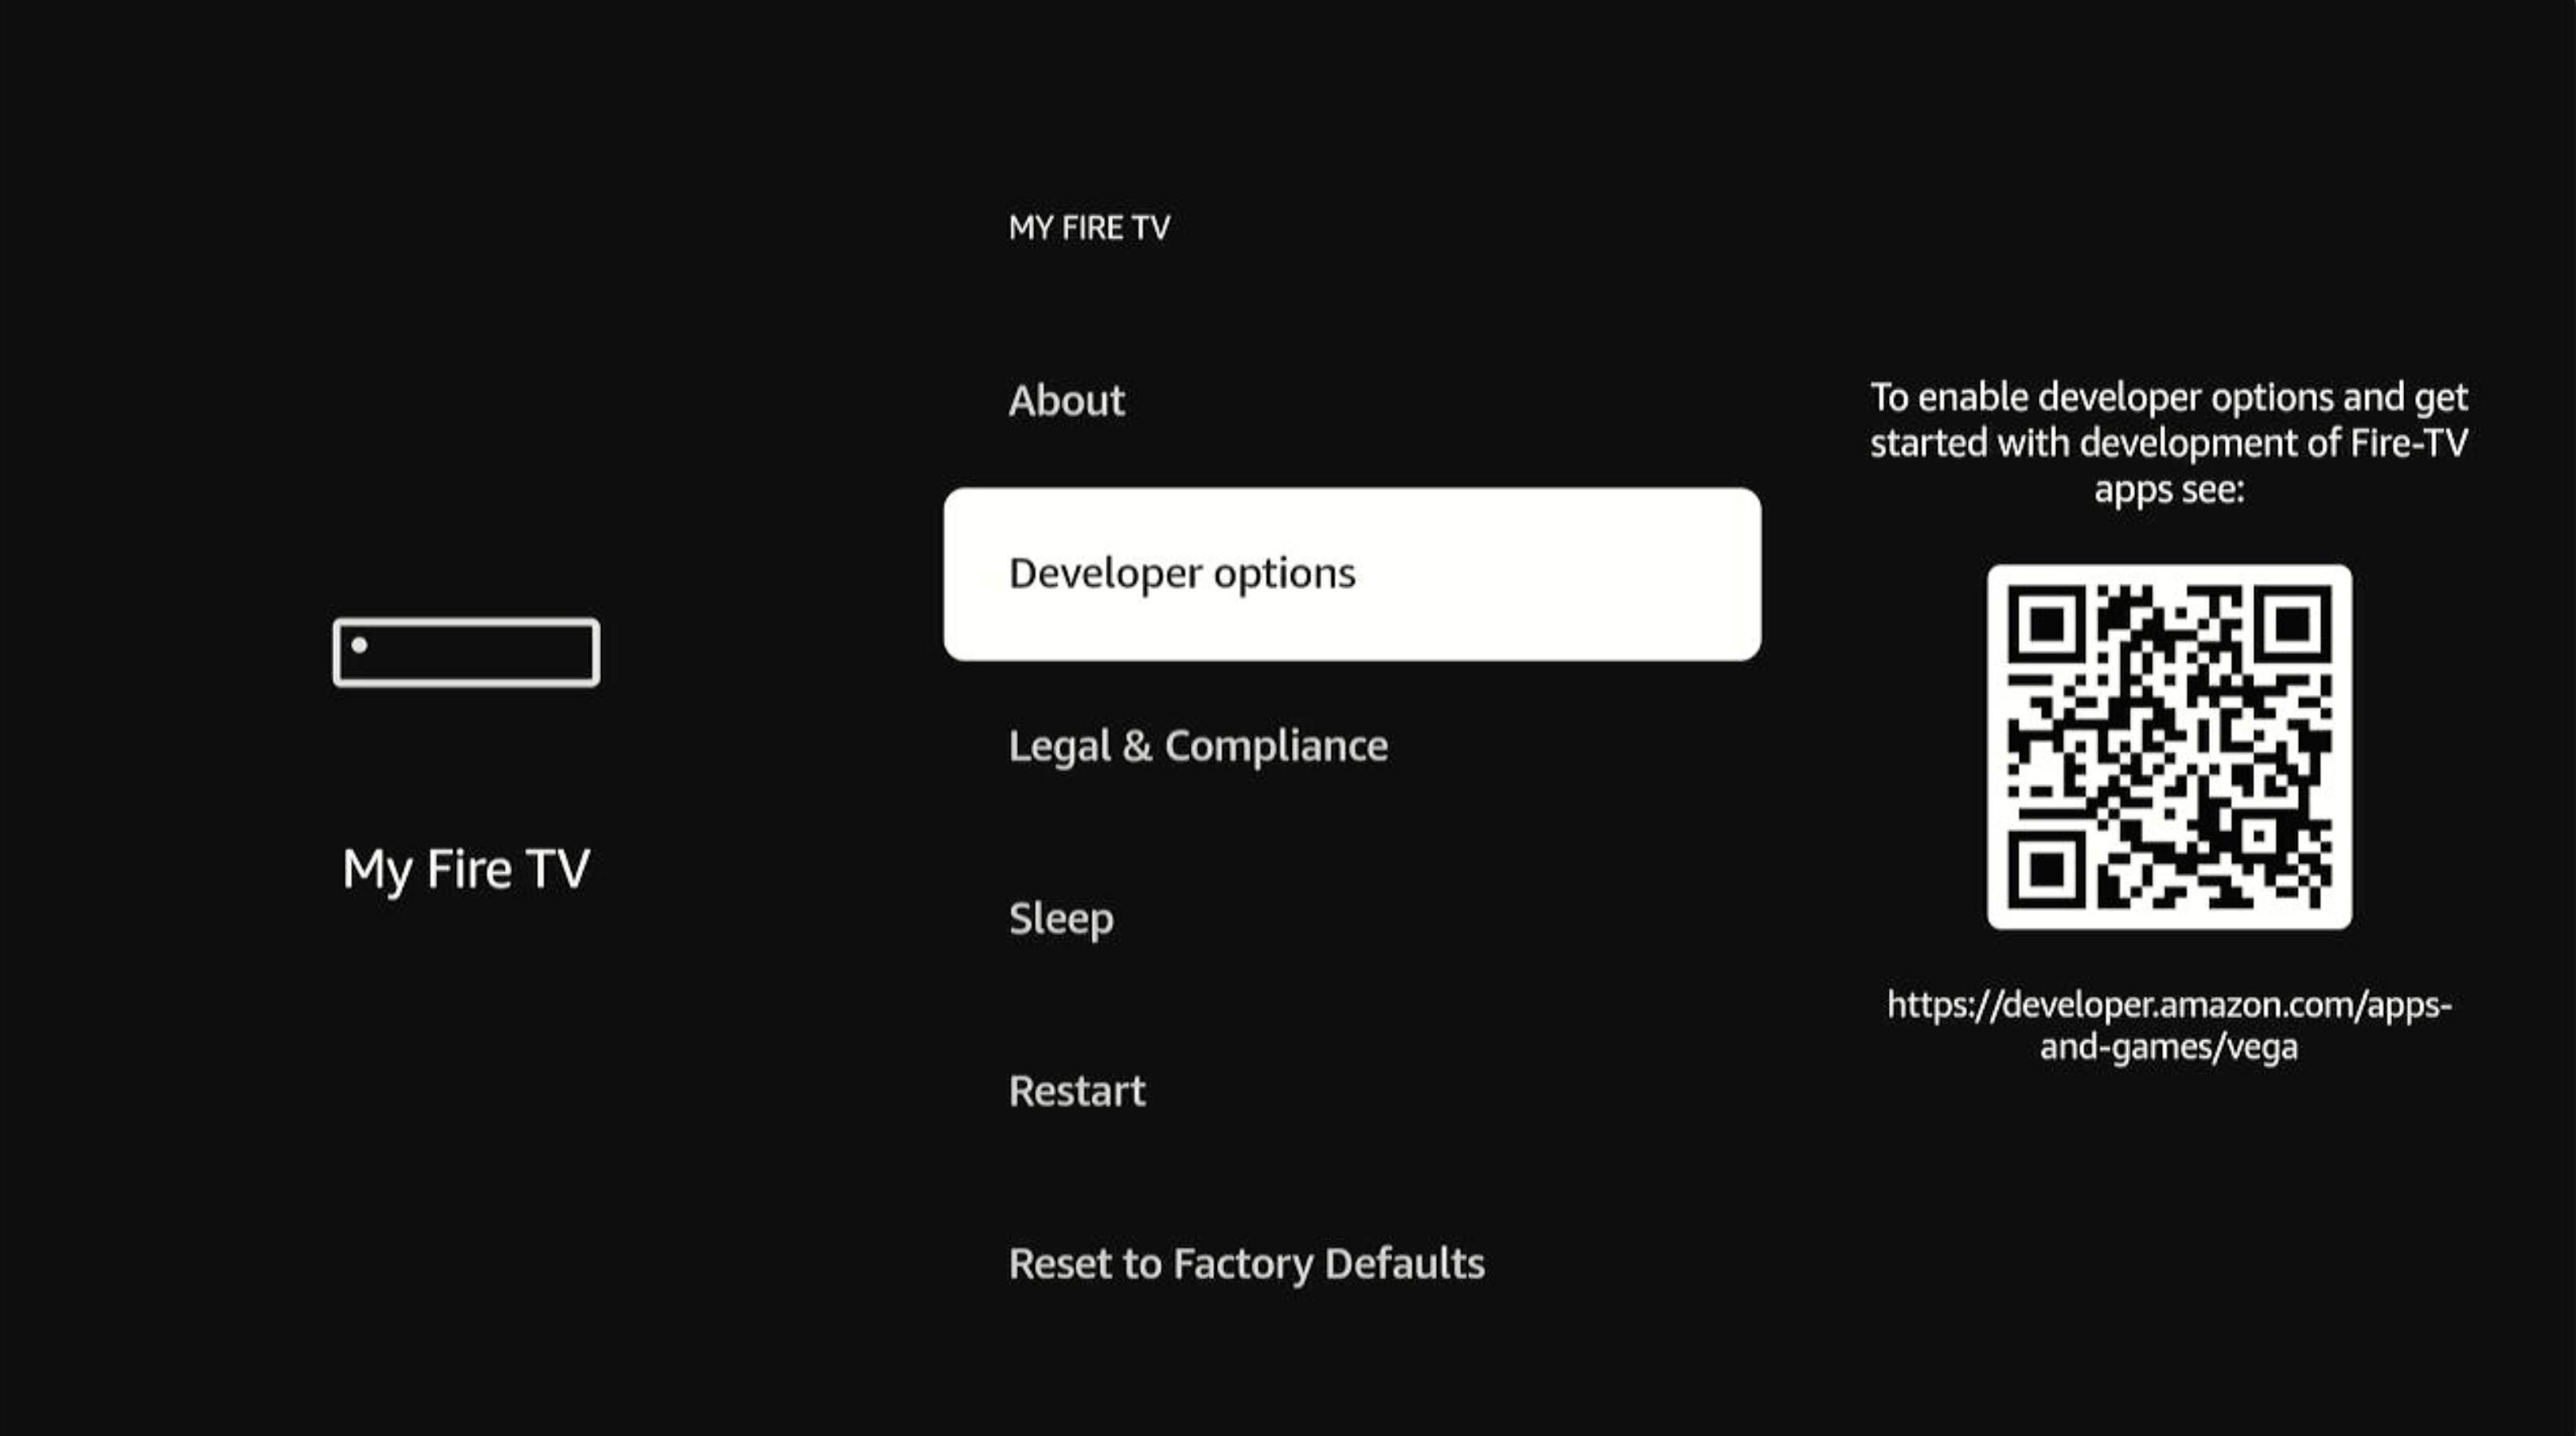
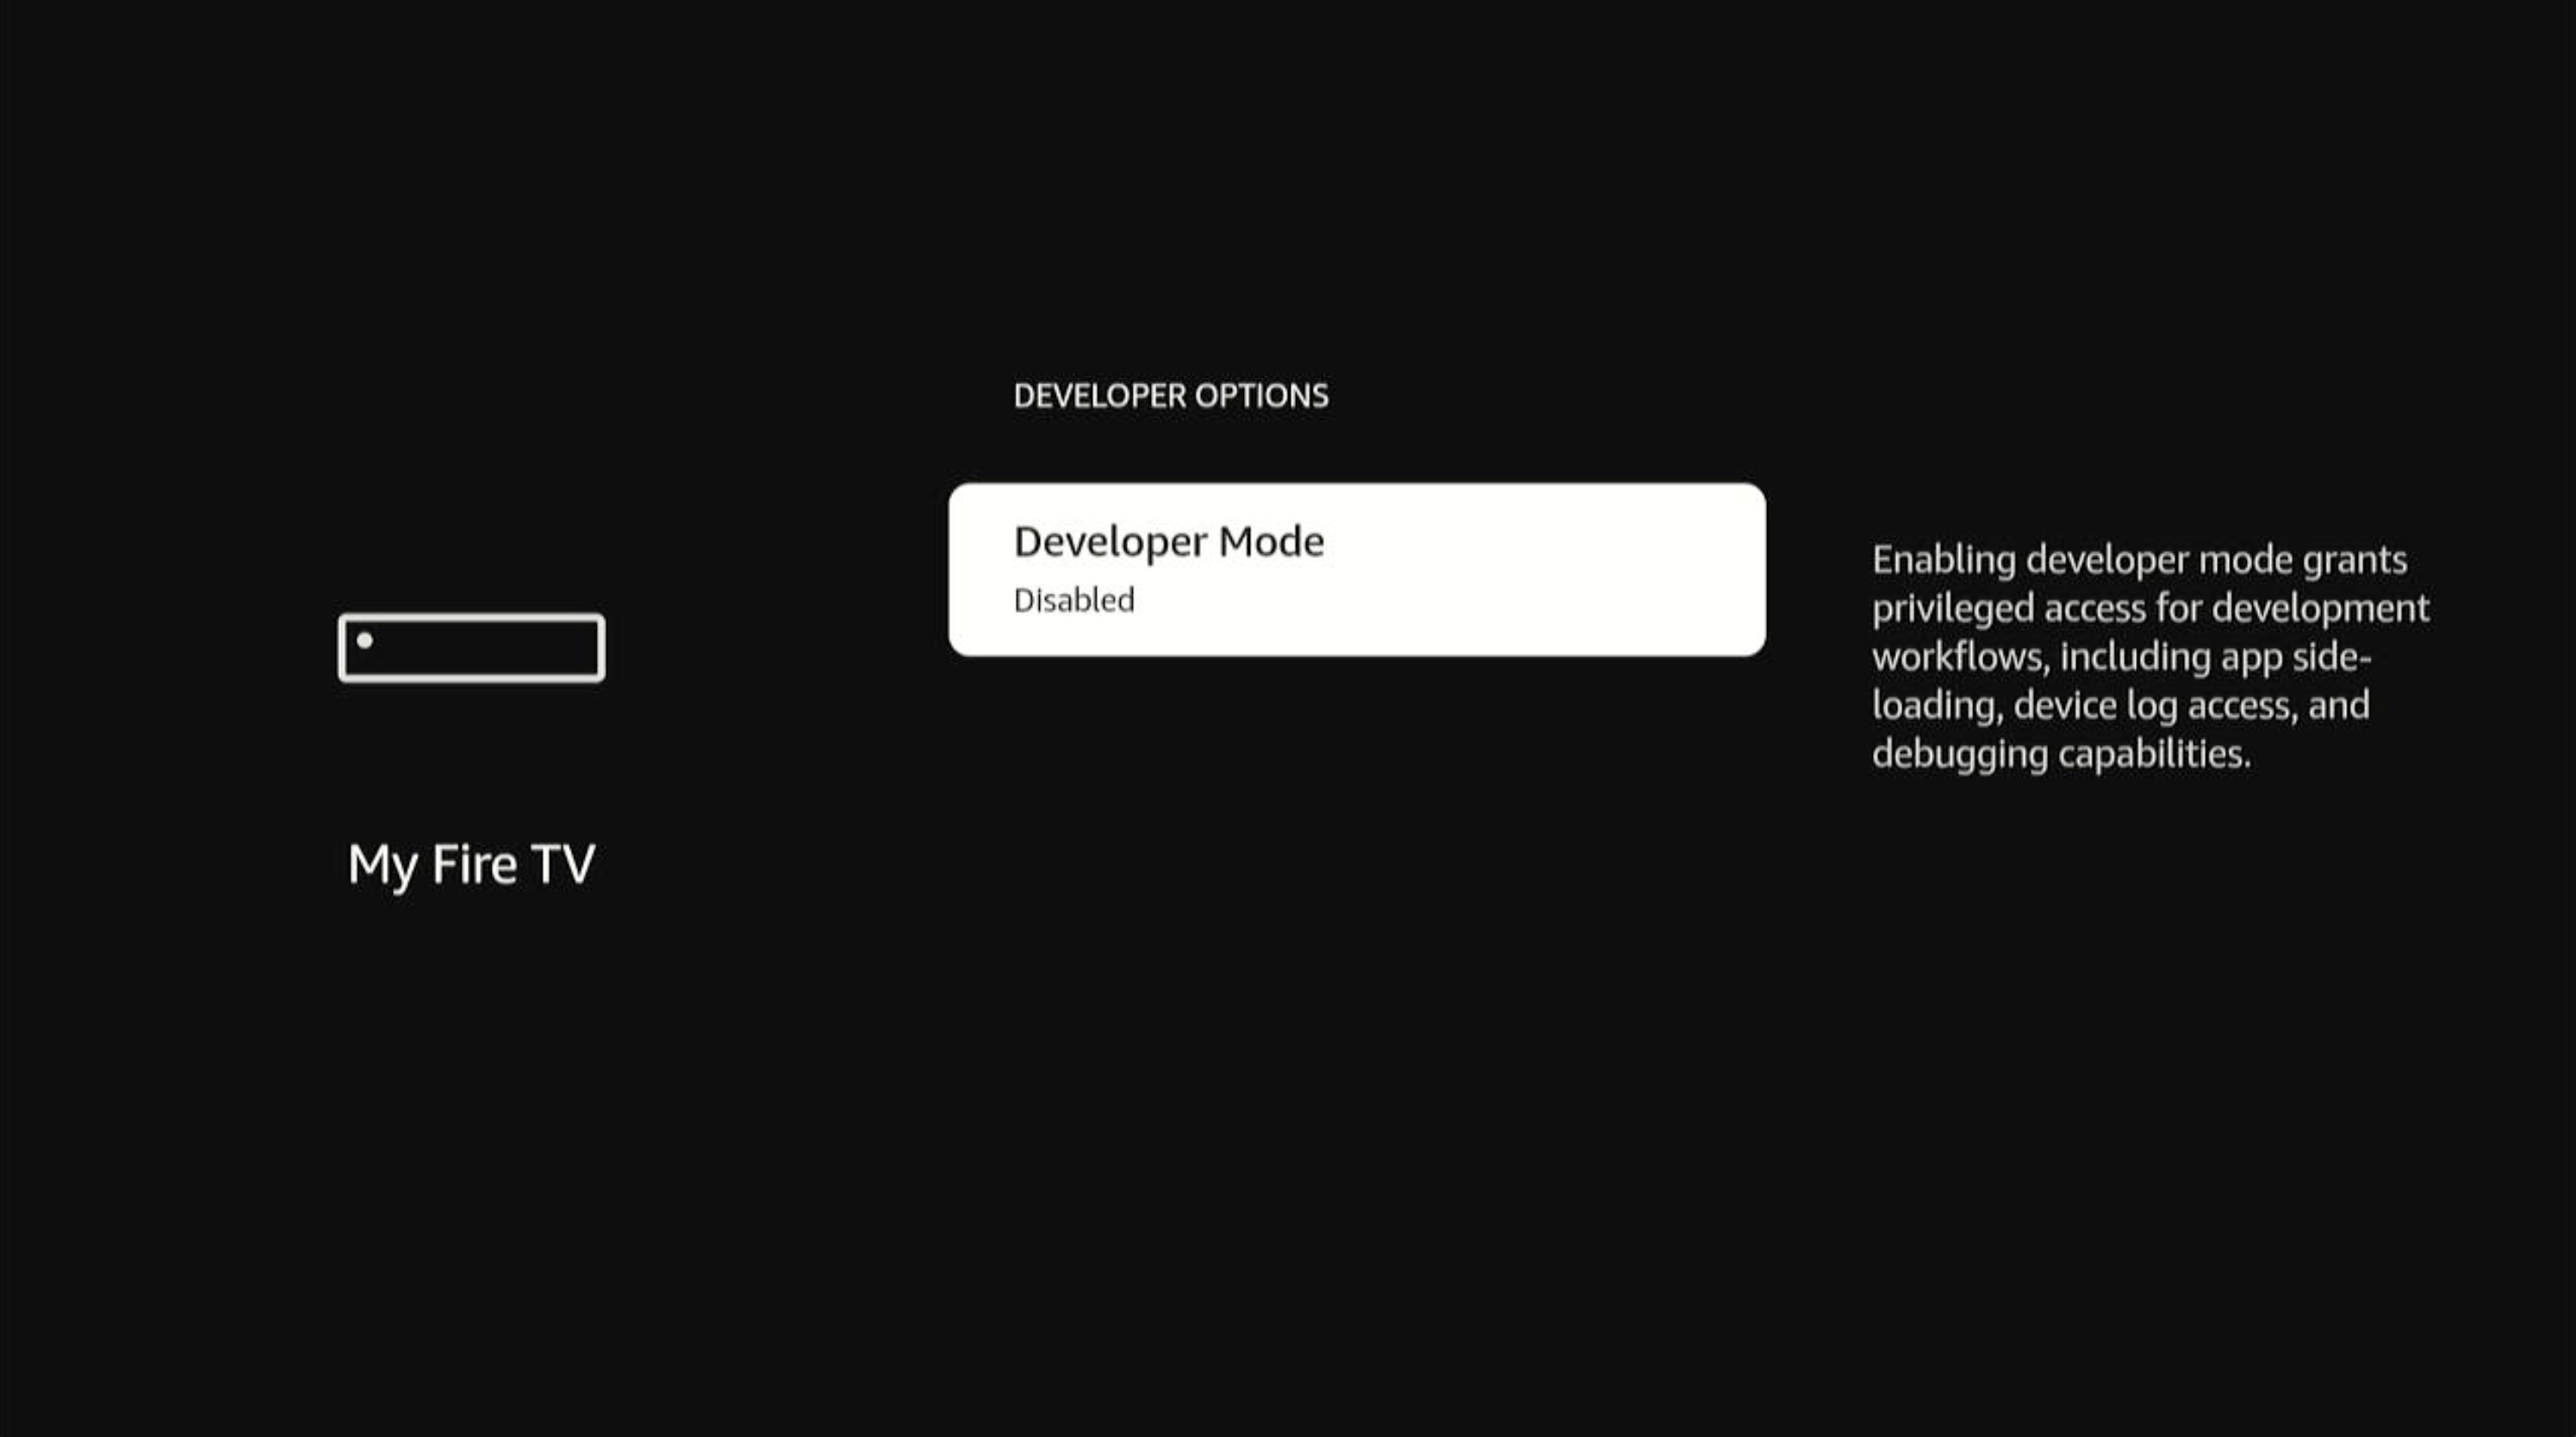
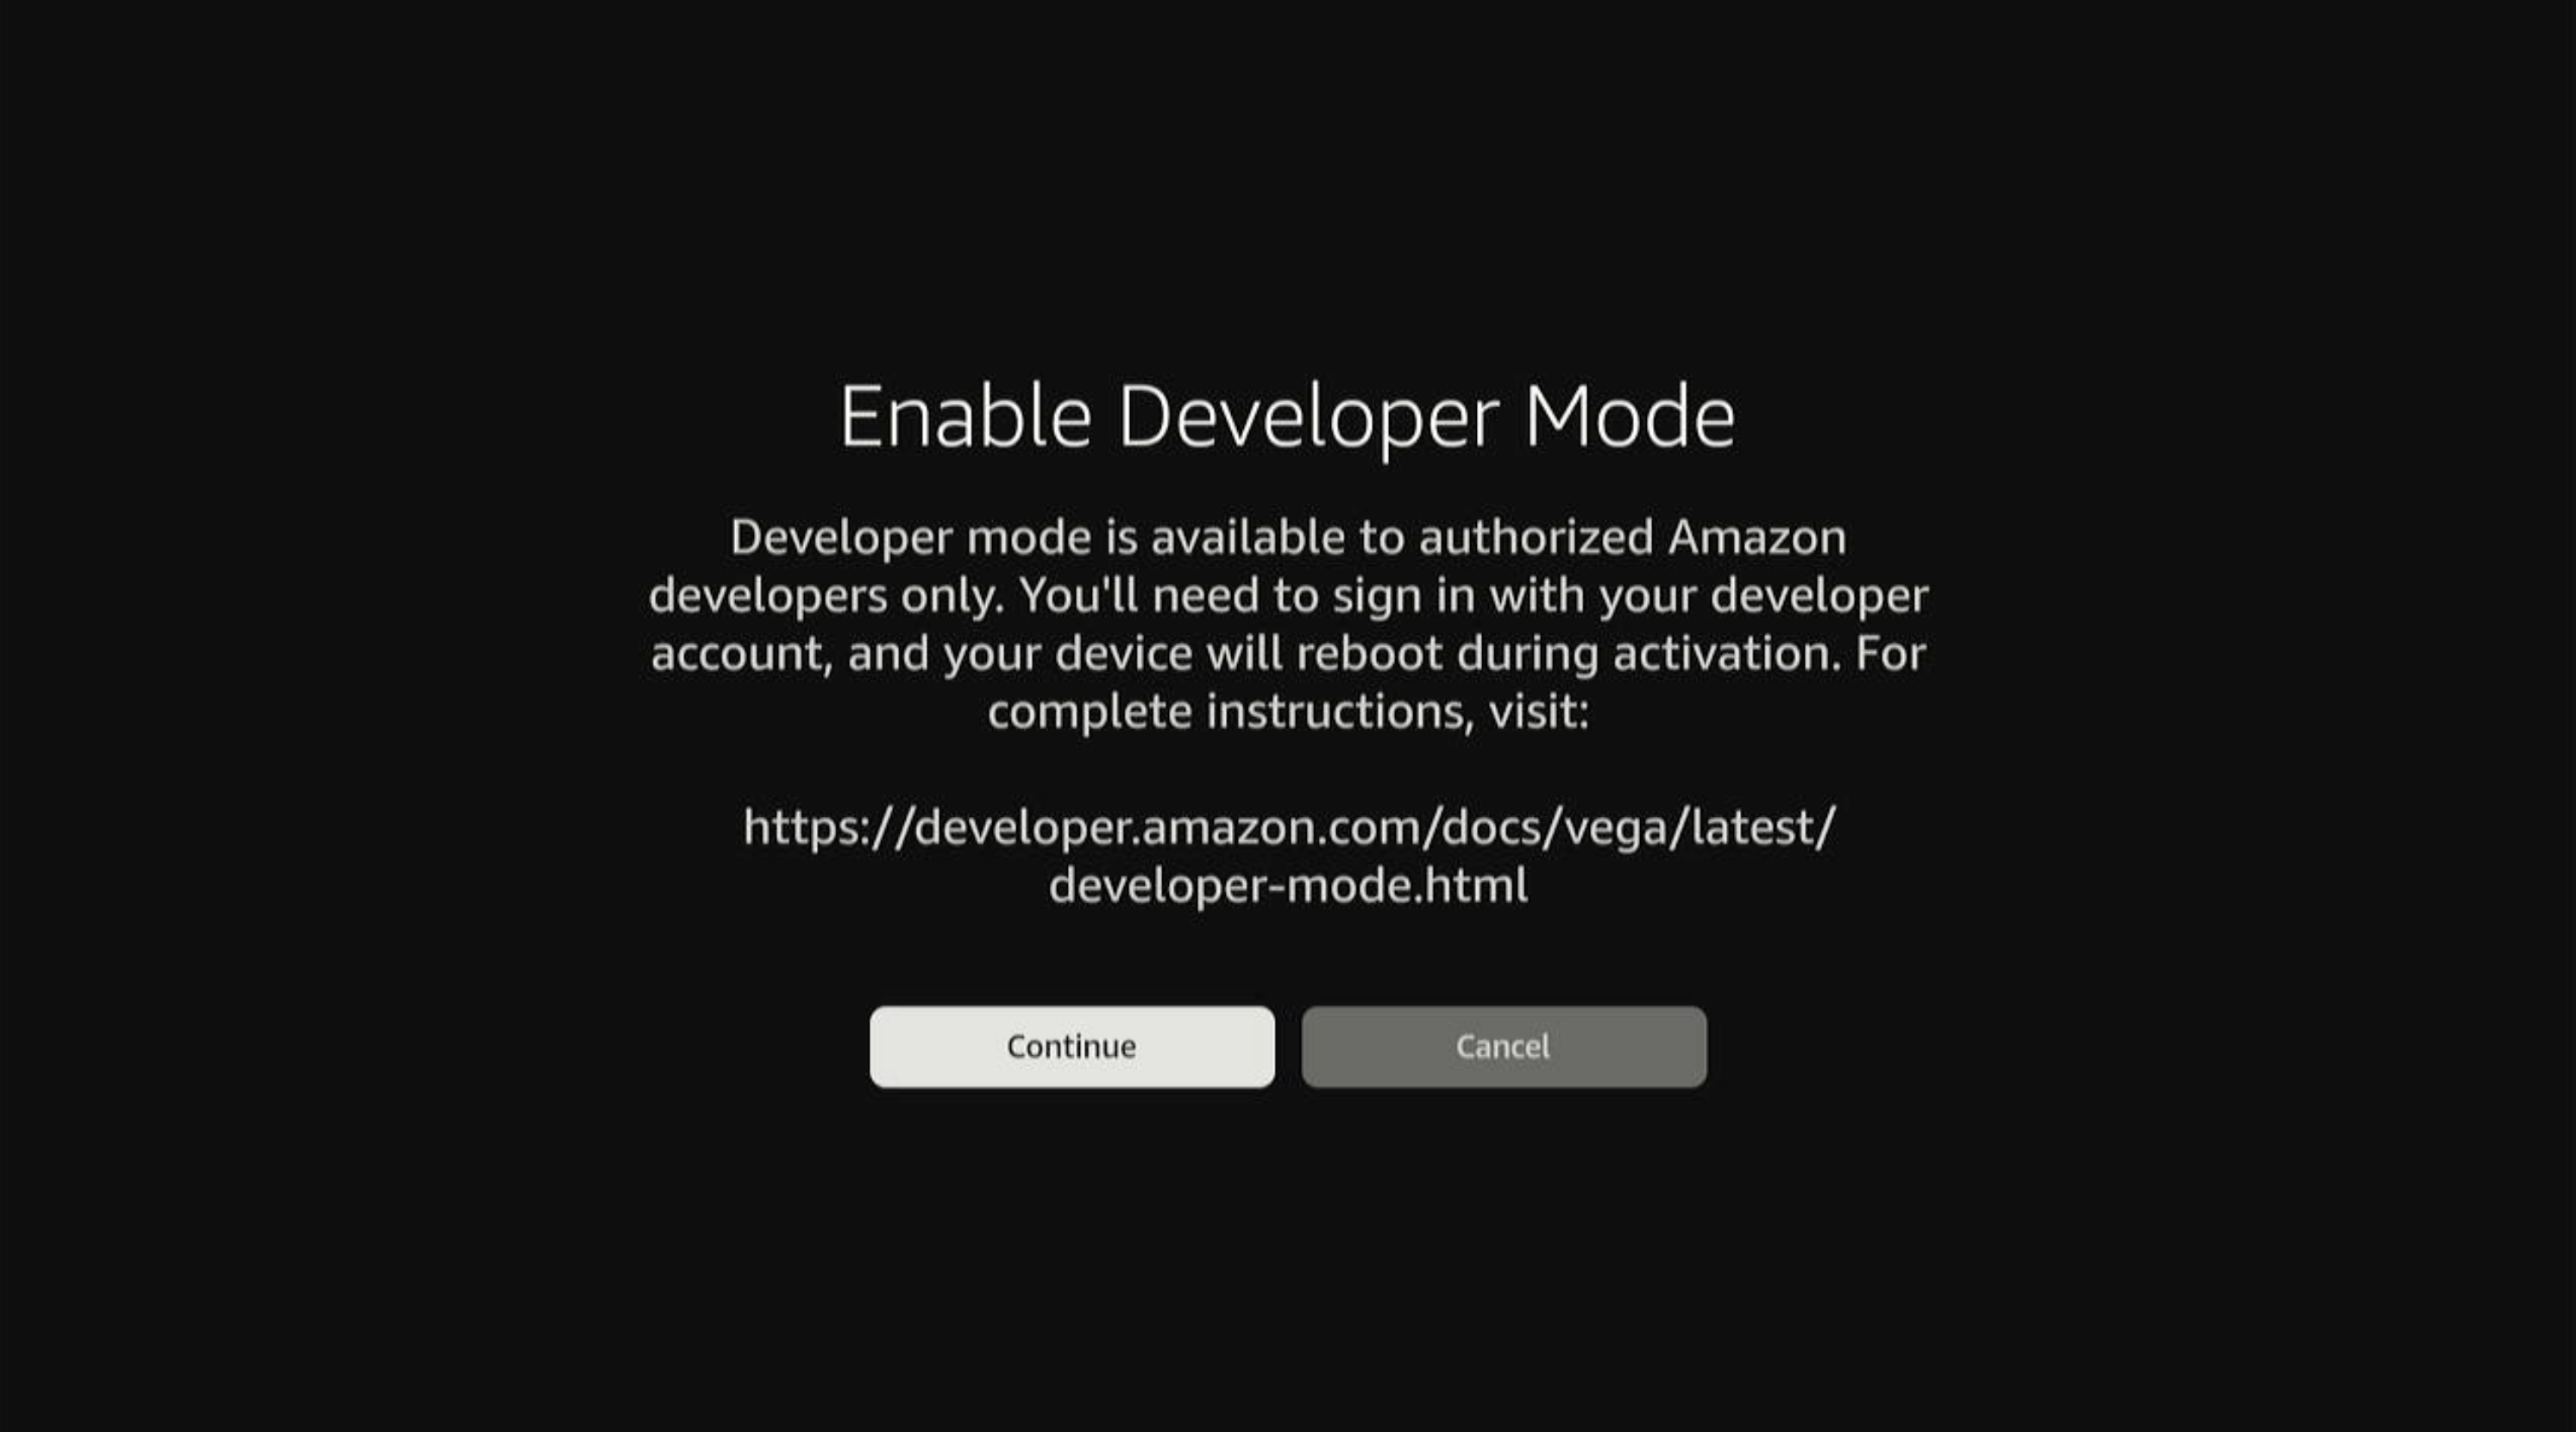
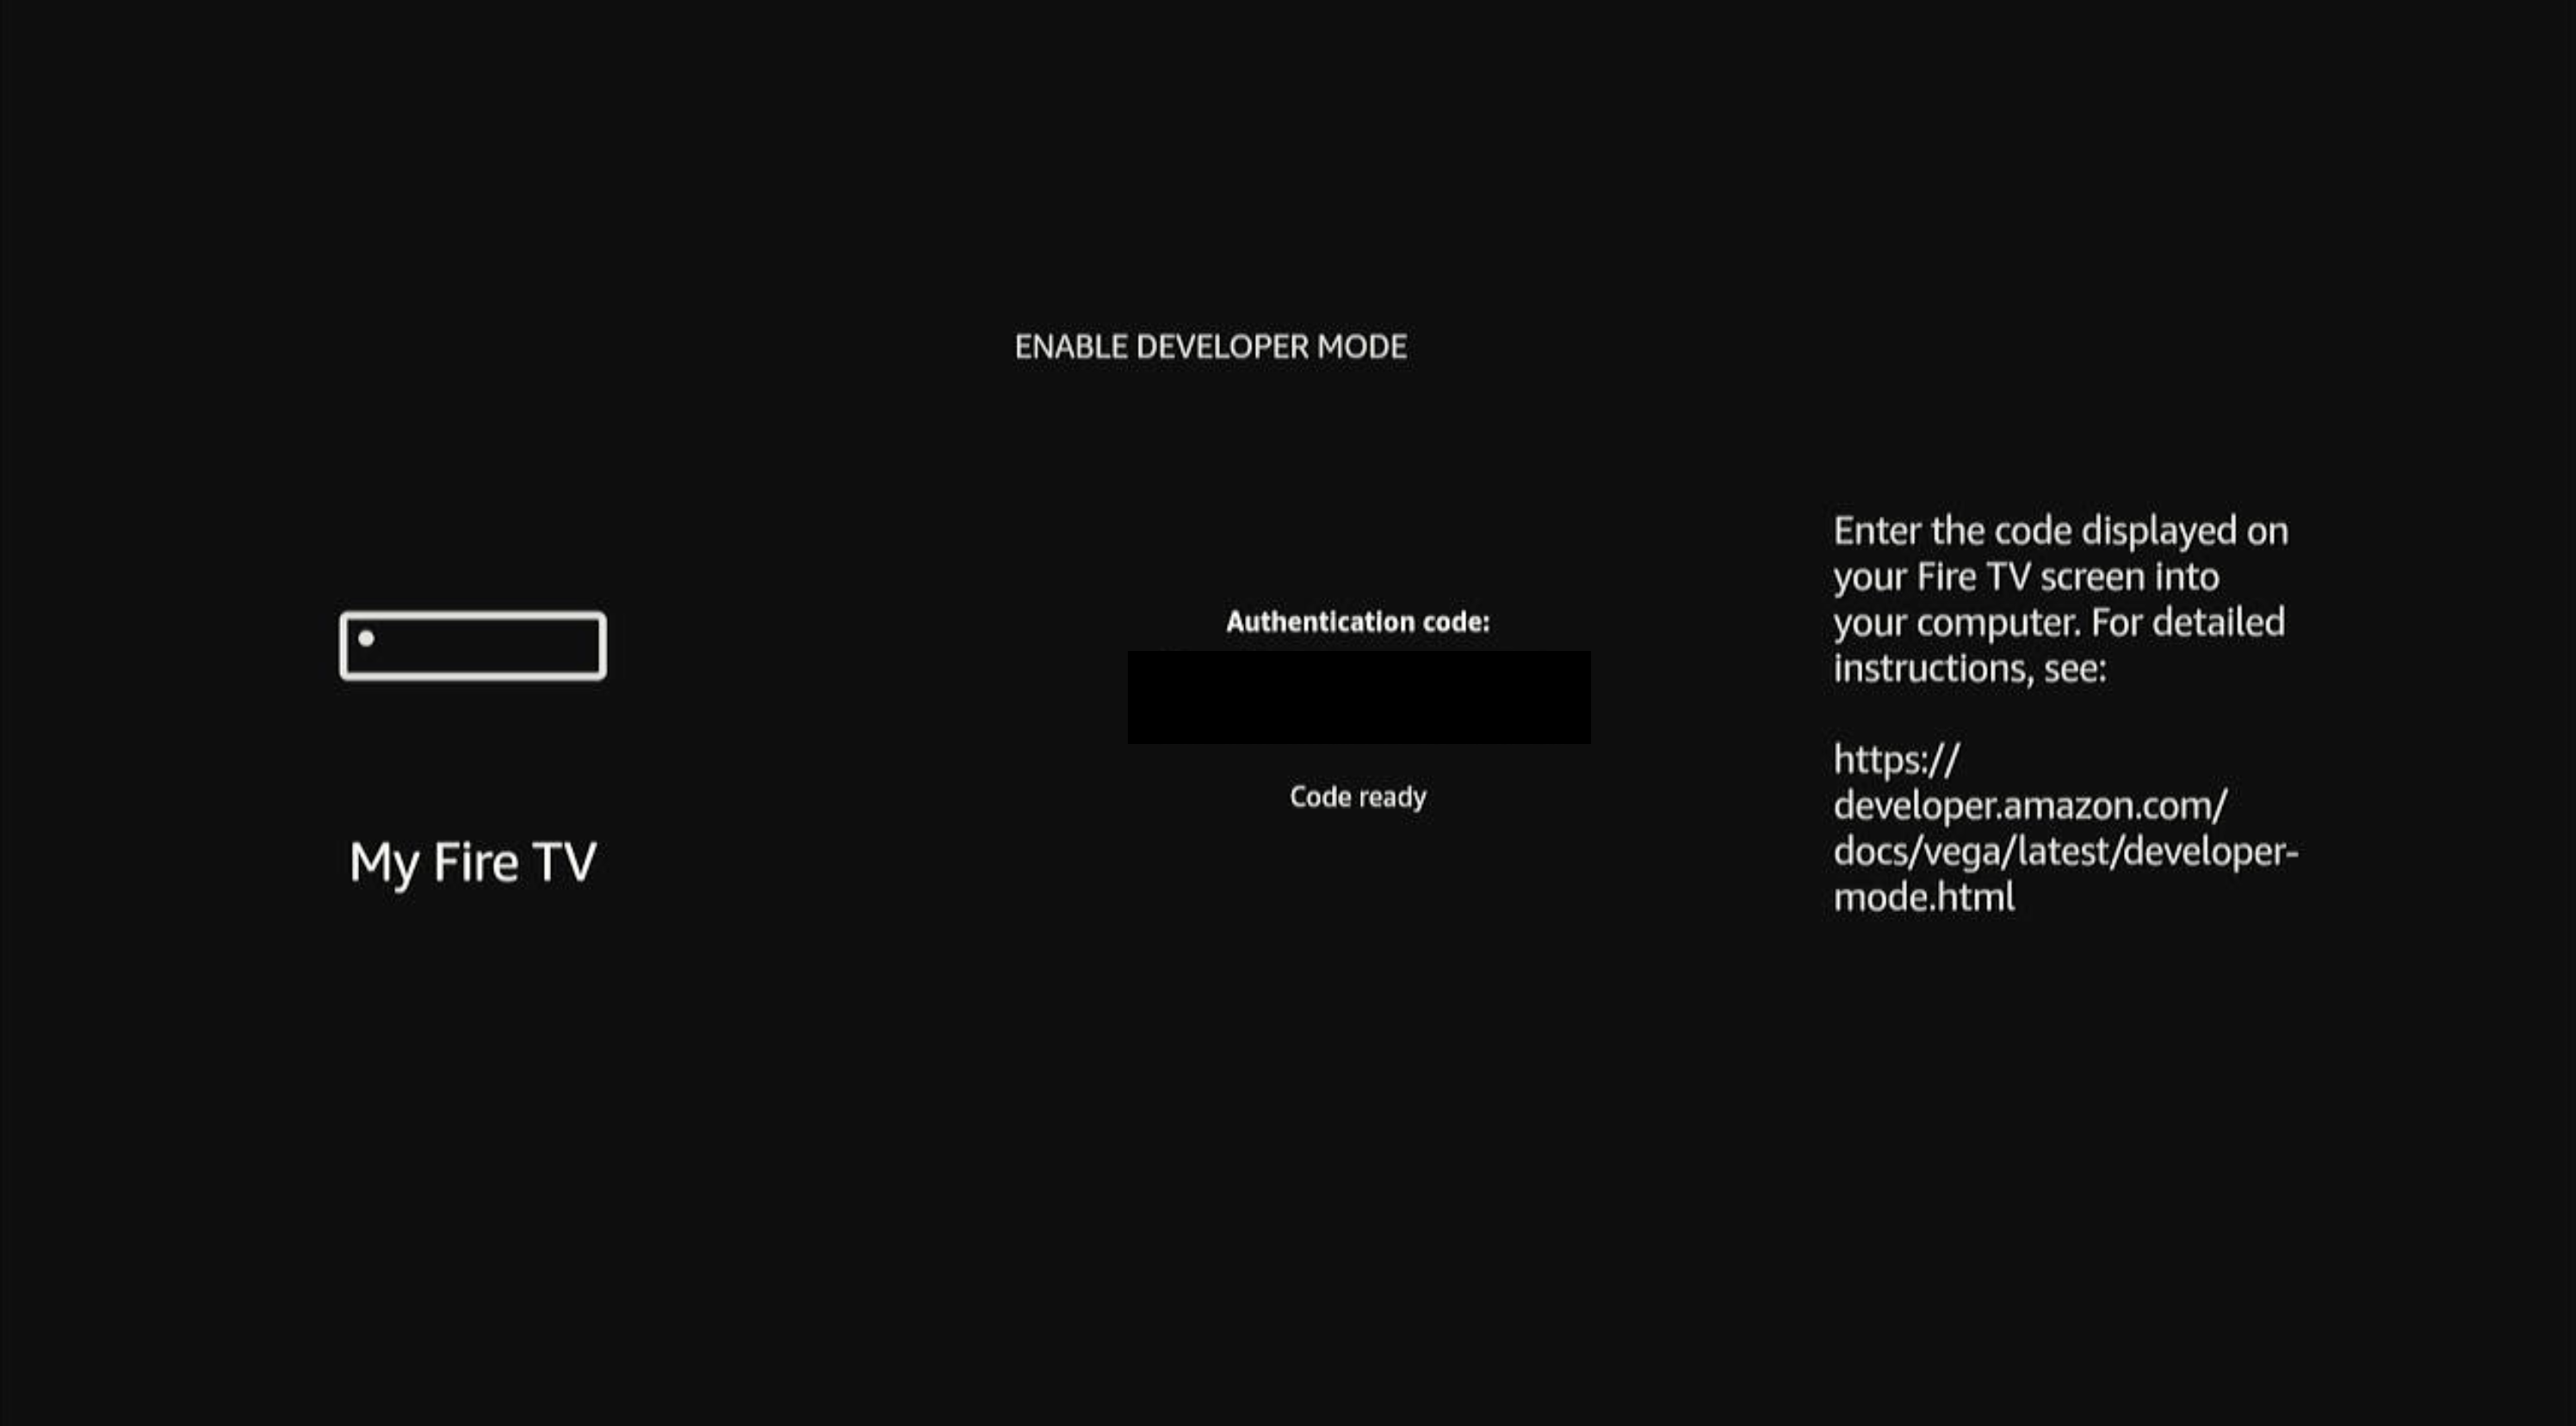
- Enable Developer Mode
- In-App Purchasing (IAP)
- Troubleshoot Vega Virtual Device Issues
- Resolve Fire TV Stick Issues
